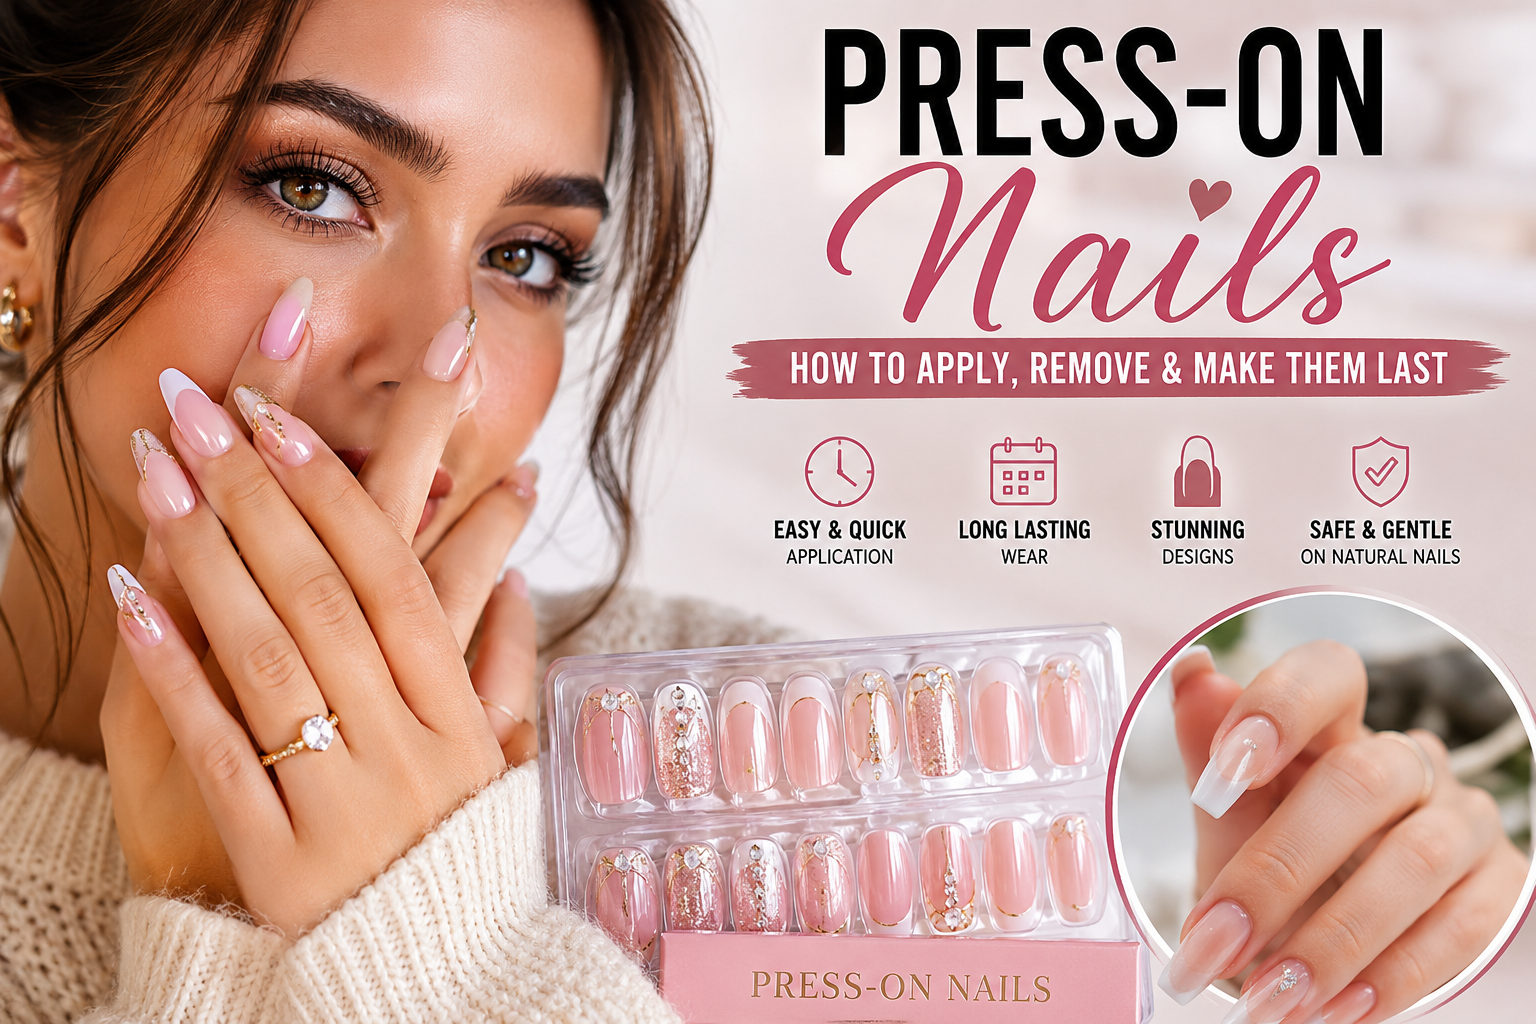
Press-On Nails: How to Apply, Remove & Make Them Last
Want gorgeous, salon-looking nails without spending an hour at the salon? Press-on nails are one of the easiest ways to create a polished manicure at home. They come in countless colors, shapes, lengths, finishes, and designs, so you can switch your look whenever your mood or outfit changes.
Modern press-on nails are also very different from the flimsy fake nails many people remember from years ago. Today, you can find reusable sets with sophisticated designs, comfortable shapes, better sizing options, and finishes that look surprisingly close to a professional manicure.
Whether you’re getting ready for a wedding, date night, vacation, work, or simply want your hands to look put together, press-ons can be a quick beauty upgrade.
The secret to getting a beautiful result isn’t complicated. You need the right size, good nail preparation, the right adhesive, careful application, and gentle removal.
In this guide, you’ll learn how to apply press-on nails, how long they can last, how to choose the right shape, how to remove them safely, and how to make your manicure look more natural.
What Are Press-On Nails?
Press-on nails are pre-shaped artificial nails designed to fit over your natural nails. Instead of creating the entire manicure from scratch, the color, shape, length, and nail art are usually already finished.
Depending on the set, you can apply them using nail glue or adhesive tabs.
They’re available in styles ranging from simple nude nails to bold chrome, French tips, glitter, cat-eye effects, floral designs, and detailed nail art.
One reason they have become so popular is convenience. You don’t necessarily need a salon appointment or advanced manicure skills to create an attractive nail look at home.

Why Are Press-On Nails So Popular?
There are several reasons press-on nails have become a favorite option for at-home manicures.
1. They’re Quick and Convenient
A traditional salon manicure can take considerable time, especially when you’re getting extensions or detailed nail art.
Press-ons allow you to skip much of that process. Once you’ve found the correct sizes and prepared your natural nails, application can be relatively quick.
2. You Get Salon-Inspired Designs at Home
Modern sets can feature detailed artwork that would normally require significant time and skill.
You can find:
- French tips
- Chrome finishes
- Ombre designs
- Nude manicures
- Glitter
- Floral patterns
- Cat-eye effects
- 3D decorations
- Rhinestone details
- Minimalist designs
This makes it easy to change your manicure without learning complicated nail-art techniques.
3. They’re Easy to Switch
Want a different look for the weekend?
You can remove one set carefully and choose another style.
This flexibility is one of the biggest advantages of press-on nails.
4. They Work for Different Occasions
A short nude set can look polished enough for everyday wear, while long almond or coffin nails can create a dramatic look for parties and special events.
You can choose your manicure based on your outfit, season, event, or personal style.
How to Choose the Best Press-On Nails
Before buying a set, think about more than just the design.
Consider the Nail Shape
Popular shapes include:
- Almond: Slim and elegant with a tapered tip.
- Square: Straight sides and a flat tip for a clean appearance.
- Coffin: Long and tapered with a squared-off tip.
- Oval: Soft and classic.
- Stiletto: Dramatic and sharply pointed.
- Short round: Practical and comfortable for everyday activities.
If you’re new to press-ons, a shorter or medium-length shape may be easier to manage.

Consider the Length
Long nails can create a glamorous appearance, but they may require an adjustment period.
Short press-on nails can be easier for typing, cooking, working, and other everyday activities.
Choose a length that fits your lifestyle rather than selecting a style only because it looks beautiful in a photo.
Check the Sizing
Proper sizing is one of the most important parts of getting a natural-looking manicure.
Each press-on should cover your natural nail without overlapping onto the surrounding skin or cuticle area. Professional application guides also recommend checking the size of every nail before applying adhesive.
If you’re between sizes, it’s generally better to choose a slightly smaller nail and carefully file the sides if necessary.
What You Need to Apply Press-On Nails
Before you begin, gather everything you need.
You’ll typically want:
- Press-on nail set
- Nail glue or adhesive tabs
- Nail file
- Nail buffer
- Cuticle pusher
- Alcohol or nail-prep wipe
- Cotton or lint-free pad
- Cuticle oil for aftercare
Having everything nearby makes the process easier and helps you avoid touching your nails unnecessarily during application.
How to Apply Press-On Nails Step by Step
Step 1: Clean Your Natural Nails
Start with clean, dry hands.
Remove any existing polish and wash your hands. Then make sure your natural nails are completely dry.
Oil and lotion can interfere with adhesion, so cleaning the nail surface is important.
Step 2: Gently Push Back Your Cuticles
Use a cuticle pusher to gently push back your cuticles.
Don’t aggressively cut or damage the skin around your nails. The goal is simply to create a clean area for the press-on nail.
Step 3: Lightly Buff the Nail Surface
Use a nail buffer to lightly remove the natural shine from the surface of your nail.
Don’t over-buff. You only need a gentle amount of preparation.
Afterward, remove dust with a clean pad.
Step 4: Match Every Nail to Your Natural Nail
Before applying glue, arrange the press-ons in order.
Hold each nail over your natural nail and check the fit.
The press-on should cover the nail from sidewall to sidewall without sitting on your skin.
This step may seem small, but it can make a huge difference in the final appearance.
Step 5: Choose Your Adhesive
You generally have two common options: nail glue or adhesive tabs.
Nail glue is typically chosen when you want a stronger, longer-lasting hold.
Adhesive tabs are convenient when you want easier removal or plan to reuse a set.
Your choice depends on how long you want to wear the nails and how easily you want to remove them.
Step 6: Apply the Press-On
Apply the adhesive according to the product instructions.
Then position the press-on carefully near the cuticle without placing it directly onto the skin.
Press it firmly onto your natural nail.
Hold it in place for several seconds so the adhesive can bond properly.
Application guides commonly emphasize clean, dry nails, correct sizing, even adhesive application, and firm pressure.

Step 7: Let Them Set
Once all the nails are applied, give them time to settle.
Avoid immediately doing activities that involve lots of water, steam, oil, or pressure.
Taking a little extra time at this stage can help your manicure stay looking fresh.
How to Make Press-On Nails Last Longer
The application itself is only half the process.
Your daily habits can also affect how long your press-ons stay attached.
Keep Them Away From Water Immediately After Application
Give the adhesive time to set according to the instructions for your specific product.
Try to avoid long showers, swimming, washing dishes, or soaking your hands immediately after application.
Don’t Use Your Nails as Tools
This is one of the easiest ways to make press-ons lift.
Don’t use your nails to open cans, scrape stickers, pry open packages, or pick at objects.
Instead, use your fingertips or an appropriate tool.
Wear Gloves for Household Chores
If you’re washing dishes or cleaning for an extended period, gloves can help protect both your manicure and your natural nails.
Be Careful With Oil and Lotion
Moisturizing your hands is important, but excessive oil around the adhesive area can contribute to lifting.
Apply hand cream and cuticle oil carefully, particularly around the edges of your press-ons.
How Long Do Press-On Nails Last?
The answer depends on several factors, including the quality of the set, your nail preparation, adhesive, application technique, and daily activities.
Adhesive tabs may be better for short-term wear, while nail glue can provide a stronger hold.
Some application guides report that well-prepared press-ons can remain in place for around one to two weeks when applied with glue, although individual results vary.
Instead of focusing only on a specific number of days, pay attention to lifting.
If a nail begins to lift significantly, don’t keep forcing it to stay attached. Remove it carefully and reapply a fresh set if appropriate.
How to Remove Press-On Nails Safely
Removal is just as important as application.
Never rip, bite, or force a press-on away from your natural nail. Pulling can remove layers from the natural nail and cause unnecessary damage.
Method 1: Warm Soapy Water
For some adhesive tabs and lighter applications, warm soapy water can help loosen the adhesive.
Soak your fingertips for approximately 10–15 minutes, then gently test whether the press-on has started to loosen.
If it doesn’t move easily, soak longer.
Don’t force it.
Method 2: Add Cuticle Oil
You can also apply cuticle oil around the edges while soaking.
The combination of warm water and oil may help loosen the adhesive while keeping the surrounding skin moisturized.
Method 3: Acetone
For strong nail glue, acetone may be needed.
Use it carefully in a well-ventilated area and follow the instructions appropriate for the adhesive you’re removing.
Acetone can damage some press-on designs, meaning the nails may not be reusable afterward.
Can You Reuse Press-On Nails?
Yes, some press-on nails can be reused.
Reusable sets are particularly convenient when they are applied with adhesive tabs and removed carefully.
After removal, clean leftover adhesive from the back of the press-ons and allow them to dry completely.
Then store them somewhere clean and dry.
If a nail is cracked, warped, heavily damaged, or no longer fits properly, it’s better to replace it rather than reuse it.
Do Press-On Nails Damage Natural Nails?
Press-on nails aren’t automatically damaging to your natural nails.
Problems are more likely to occur when people aggressively buff their nails, use products incorrectly, or remove press-ons by pulling or peeling them off.
Gentle application and removal are important.
If you notice persistent pain, significant redness, swelling, irritation, or another unusual reaction around your nails, stop using the product and consider getting professional medical advice.
Your natural nails should always come before the manicure.
Best Press-On Nail Trends to Try in 2026
Press-on nails make it easy to experiment with current nail trends.
Milky Nude Nails
Soft milky shades create a clean and sophisticated manicure.
They’re especially versatile because they work with casual outfits, office looks, and formal occasions.

Chrome Press-On Nails
Chrome finishes add instant shine and can make a simple manicure look more eye-catching.
Warm pearl, vanilla chrome, and soft metallic effects are especially wearable options.
Recent beauty coverage has highlighted softer chrome and creamy finishes as modern alternatives to stark white manicures.
Modern French Tips
French nails don’t have to be plain anymore.
Try:
- Micro French tips
- Colored French tips
- Chrome French tips
- Chocolate brown French tips
- Double French lines
- Black French tips
Almond Press-On Nails
Almond nails remain a popular choice because the tapered shape gives the fingers an elegant appearance.
They’re especially beautiful with nude, pink, French, and chrome designs.
Chocolate Brown Nails
Chocolate brown can give a manicure a rich, sophisticated appearance.
It’s a great alternative to traditional black or burgundy when you want something darker without looking too harsh.
Minimalist Nail Art
If you prefer subtle designs, look for tiny hearts, stars, dots, thin lines, or small floral details.
Minimalist press-ons are perfect when you want something interesting without an overly dramatic manicure.
3D and Embellished Nails
For parties and special occasions, rhinestones, pearls, bows, gems, and raised details can make press-ons look like statement jewelry for your hands.
Current 2026 nail coverage also points toward playful 3D details, metallic accents, and decorative finishes.
Press-On Nails vs. Salon Manicures
Both options have their place.
A salon manicure may be ideal when you want professional customization, specialized services, or intricate nail work.
Press-ons are particularly useful when you want convenience, flexibility, and the ability to change your look at home.
They’re also helpful when you don’t have time for a salon appointment.
The best option depends on your budget, schedule, nail preferences, and how often you want to change your manicure.
Common Press-On Nail Mistakes to Avoid
Avoid these mistakes if you want a cleaner and longer-lasting result:
- Applying nails over oily or wet nails
- Choosing the wrong size
- Putting adhesive directly onto the surrounding skin
- Skipping nail preparation
- Applying too much glue
- Applying too little adhesive
- Immediately soaking your hands after application
- Using press-ons as tools
- Pulling them off when they’re still firmly attached
- Over-buffing the natural nail
- Ignoring pain or irritation
A few extra minutes of preparation can make the whole manicure look much more professional.
Frequently Asked Questions About Press-On Nails
Are press-on nails good for beginners?
Yes. They’re one of the easiest ways to experiment with artificial nails at home. Start with a shorter length and a simple shape if you’re new to them.
How do I make press-on nails look natural?
Choose the correct size, avoid placing the nail over your skin, and select a shape that follows the appearance of your natural nail.
Good preparation also makes a major difference.
Can I sleep with press-on nails?
You can wear them overnight if they’re securely applied and comfortable. However, if a nail is loose, painful, or lifting significantly, remove it safely rather than leaving it attached.
Are glue tabs better than nail glue?
Neither is universally better.
Adhesive tabs can be convenient for shorter wear and easier removal, while nail glue generally provides a stronger hold. Your choice should depend on your intended wear time and preferences.
Can I shower with press-on nails?
Yes, but avoid prolonged soaking, especially immediately after application. Frequent exposure to water can contribute to lifting depending on the adhesive and application.
Can I reuse press-on nails?
Many sets can be reused if they’re removed gently and remain in good condition. Adhesive tabs are often convenient when reusability is a priority.
Final Thoughts
Press-on nails have come a long way from the basic artificial nails many people remember. With better designs, modern shapes, stylish finishes, and improved application options, they can create a polished manicure without requiring a salon appointment.
The biggest secret to a great result is preparation.
Clean your natural nails, choose the correct size, use the right adhesive, apply each nail carefully, and give the adhesive enough time to set. When it’s time for removal, be patient and never rip the nails away.
Whether you prefer short nude nails, almond French tips, glossy chrome, chocolate brown, or dramatic 3D designs, there’s a press-on style for almost every personality and occasion.
With the right technique, you can enjoy beautiful, customizable nails while keeping your routine simple and convenient.



One Comment